USB BIOS Flashback is a revolutionary feature that allows users to update the BIOS of their motherboard without even needing a CPU or DRAM installed.
This is especially valuable when dealing with hardware issues or recovering from a failed BIOS update.
It simplifies the process and helps ensure that your system is always running the latest firmware for optimal performance.
One of the standout aspects of USB BIOS Flashback is its ease of use.
Users only need a formatted USB drive with the correct BIOS file loaded into it, and then they can follow a few simple steps to complete the update process.
No need to boot into the operating system or navigate complex BIOS menus.
How USB BIOS Flashback Works
Pre-Requisites for Use
Before utilizing USB BIOS Flashback, users must ensure compatibility and have the necessary tools. First, confirm that the motherboard supports USB BIOS Flashback by checking the manufacturer’s specifications.
Essential tools include a formatted USB flash drive and the specific BIOS file for the motherboard model. Users should download the BIOS file from the official website, ensuring it matches their motherboard’s model number.
Place the downloaded BIOS file on the USB drive, renaming it to match the required naming convention (e.g., “BIOS.CAP” for ASUS models).
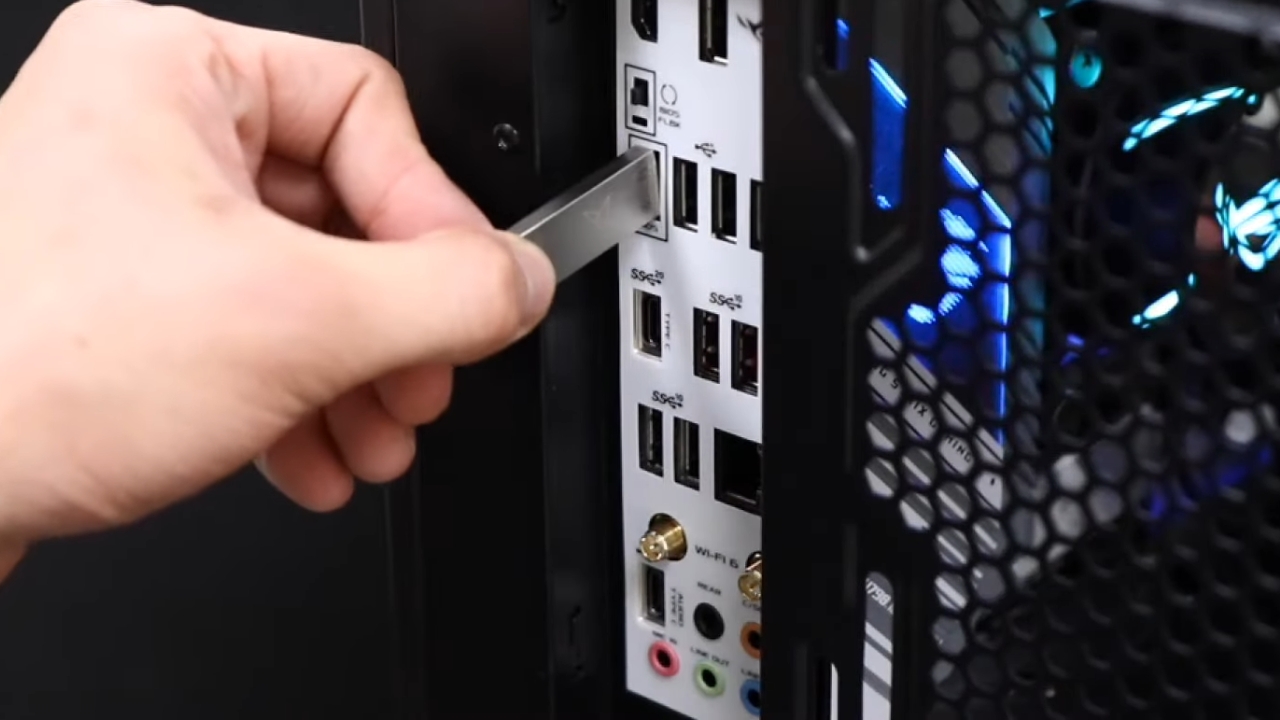
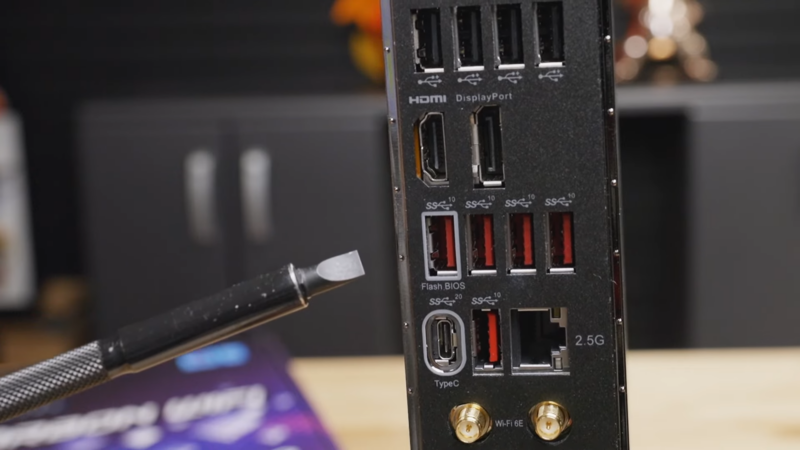
Ensure the system is powered off completely. Locate the dedicated USB BIOS Flashback port and button on the rear I/O panel of the motherboard.
Step-by-Step Procedure
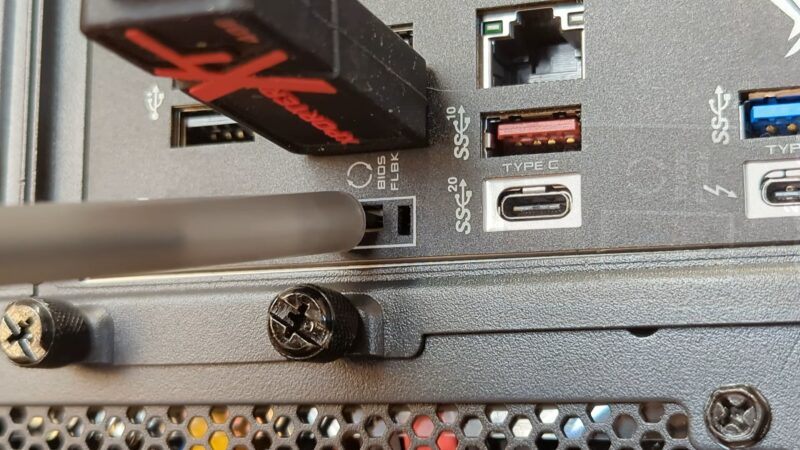
Begin by inserting the prepared USB flash drive into the designated USB BIOS Flashback port. Press and hold the BIOS Flashback button for three seconds. Look for the BIOS Flashback LED to start flashing, indicating that the process has begun. The LED will continue to blink during the update process.
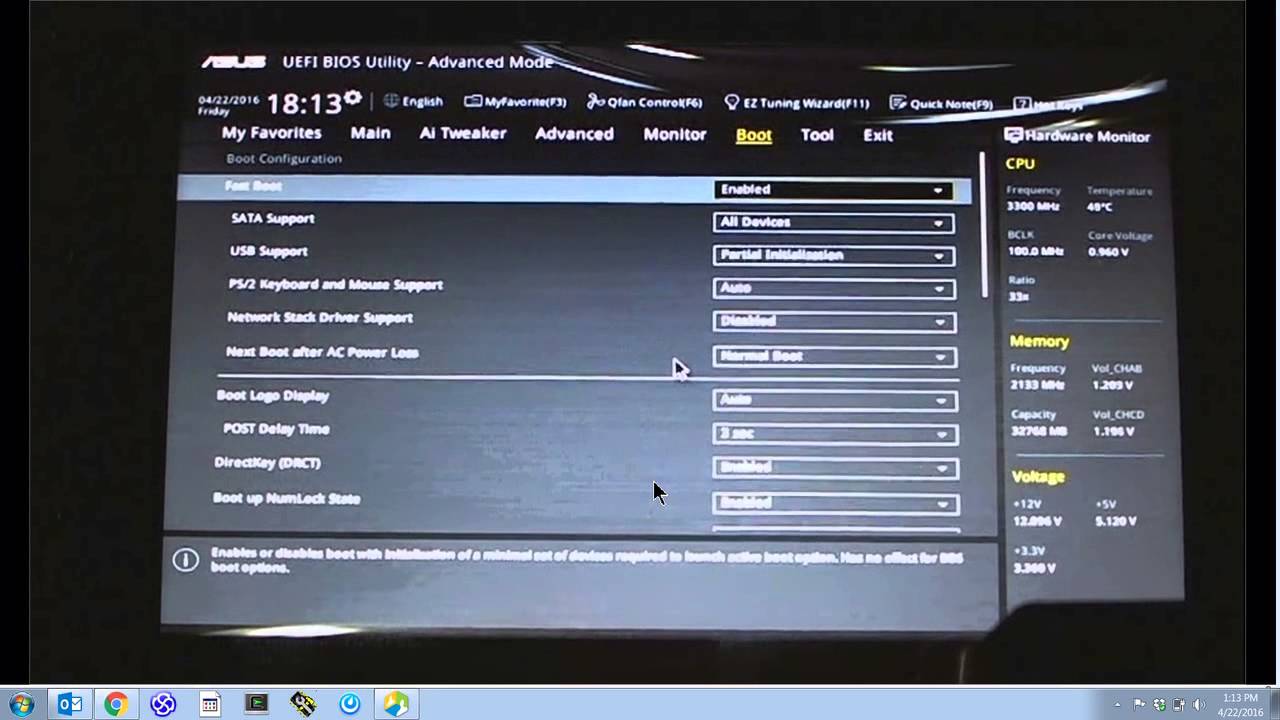
It is crucial not to interrupt the process, which can take several minutes. Wait patiently as the LED stops flashing and remains solid or turns off, signaling the completion of the update. Remove the USB flash drive and power on the system. Enter the BIOS setup by pressing the Del or F2 key during boot to verify the updated BIOS version.
USB BIOS Flashback provides an efficient way to update BIOS without accessing the operating system, ensuring system stability and compatibility.
Benefits

Convenience and Time-Saving Features
USB BIOS Flashback simplifies the BIOS update process. Users can update their BIOS without needing to boot into the operating system or use complex tools. This feature is particularly beneficial for those who are not tech-savvy, making it easier for them to maintain their system.
The process typically involves plugging a USB drive containing the BIOS file into a specific port and pressing the BIOS Flashback button on the motherboard. This streamlined method can save substantial time and effort, especially in situations where traditional BIOS update methods are not feasible.
Additionally, the minimal hardware requirements for using USB BIOS Flashback—just a motherboard with the feature and a compatible USB stick—enhance its accessibility. This functionality can be indispensable during initial setup or troubleshooting, offering a simple and efficient way to ensure systems run the latest firmware.
Problem Solving and Troubleshooting
USB BIOS Flashback is particularly useful in addressing BIOS corruption issues, which can render a system unbootable. It enables users to re-flash their BIOS without accessing the BIOS setup, resolving issues that may prevent the machine from starting.
This tool is invaluable for situations where systems fail to support new hardware due to outdated firmware. By allowing for easy updates, users can ensure compatibility with newer CPUs and other components, maintaining system stability.
Moreover, the BIOS Flashback Button and indicator LEDs offer clear, user-friendly feedback during the process. These elements help users identify the status of the update, minimizing the risk of errors and ensuring the update completes correctly.
In essence, USB BIOS Flashback provides effective solutions for various BIOS-related problems, enhancing overall system reliability and performance.
Supported Hardware
Motherboards with USB BIOS Flashback
Various motherboards from leading manufacturers, particularly ASUS, are equipped with the USB BIOS Flashback feature. This allows users to update the BIOS even without a CPU or RAM installed on the motherboard. For example, many models in the ASUS ROG and TUF series support this functionality.
The feature is particularly beneficial when dealing with compatibility issues between a new CPU and an older BIOS version. Motherboards with this feature typically have a designated USB port, often labeled and sometimes paired with a BIOS Flashback button, for this specific purpose.
Compatible USB Devices
Updating the BIOS via USB BIOS Flashback requires a properly configured USB flash drive. It should be formatted to FAT32, and the BIOS update file must be correctly named and placed in the root directory of the drive. USB drives with a capacity between 1GB and 32GB are generally recommended, as larger drives may encounter compatibility issues.
Users should avoid using USB 3.0 drives, as some motherboards might not recognize them for BIOS flashing purposes. Instead, a standard USB 2.0 drive ensures greater reliability during the update process.
Updating with Caution
Before initiating a BIOS update, it is essential to download the correct BIOS file for your motherboard model from the manufacturer’s website. Incorrect files can cause irreversible damage. Additionally, always use a reliable USB drive, preferably USB 2.0, as some systems may not support USB 3.0 for this process.
Ensure your computer is connected to a stable power source to prevent interruptions during the update. Power failures during a BIOS update can render your motherboard non-functional. To mitigate this risk, some users prefer to use an Uninterruptible Power Supply (UPS).
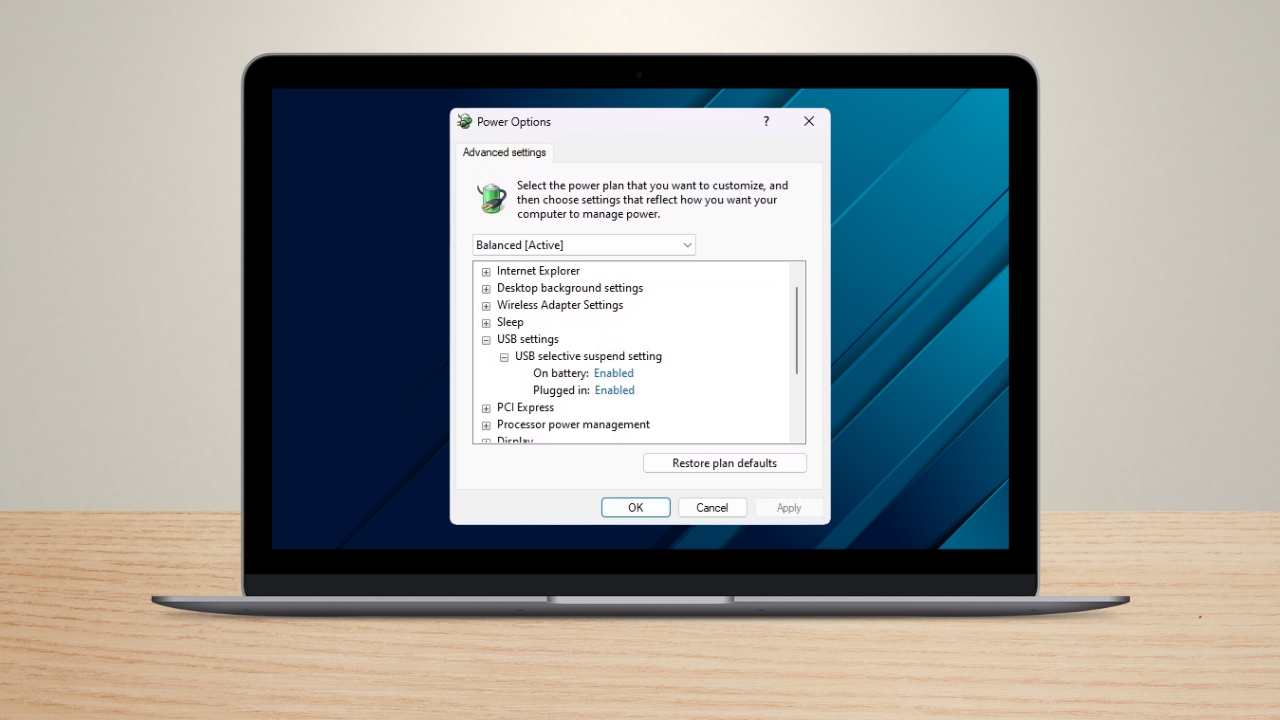
It’s also vital to disconnect unnecessary peripherals. Extraneous devices might complicate the BIOS flashback process. Finally, follow the specific instructions provided by the motherboard manufacturer meticulously.
Avoiding Common Mistakes
One common error is using a large-capacity USB drive. Most BIOS Flashback utilities work best with smaller drives, typically 8GB or less. This helpful tip can prevent recognition issues.
Avoid using improperly formatted USB drives. The BIOS file should be the only file on the drive, and it should be formatted in FAT32. Skipping this can lead to the system not recognizing the drive.
Do not ignore the specific USB port designated for BIOS Flashback on your motherboard. It is often labeled and usually has distinct instructions in the user manual.
Failing to use the correct port can cause the process to fail, as discussed on Tom’s Hardware.
Ensure that the BIOS file is uncorrupted and fully downloaded. Partial downloads or corrupted files are common pitfalls that can easily disrupt the Flashback process. It’s always a good idea to verify the file’s integrity before proceeding.
Common Issues and Solutions

LED Light Doesn’t Flash
Ensure the USB drive is properly formatted in FAT16 or FAT32 and contains the correct BIOS file. The USB BIOS Flashback port should function correctly. If the issue persists, try a different USB drive or double-check that the drive is properly inserted.
BIOS Update Not Successful
After initiating the update, check the BIOS Flashback LED for any status indications. If there are issues, re-execute the USB BIOS FlashBack steps or contact your local ASUS service center.
Incorrect BIOS File
Ensure the BIOS file matches the motherboard model. An incorrect file can prevent the update. Visit the ASUS support page to confirm and download the correct version.
USB Drive Not Recognized
Try using a different USB port or a different USB drive. Make sure the USB drive is formatted and the file is correctly named. Check the rear I/O panel to locate the appropriate port.
Ensure Connection During Process
Interruptions can cause the process to fail. Make sure the motherboard is properly connected to a stable power source and that the USB drive remains inserted throughout the flashing process.
USB BIOS Flashback vs. Traditional Methods

USB BIOS Flashback is a feature that allows users to update their BIOS without a CPU or RAM installed. It is particularly useful in situations where the current BIOS version is incompatible with new hardware. The process involves using a USB drive and a dedicated button on the motherboard.
Traditional BIOS Updating Methods typically involve either updating through the BIOS setup utility or using a manufacturer’s software utility within an operating system.
Key Differences
Simplicity
- USB BIOS Flashback: Requires just a formatted USB drive with the BIOS file and pressing the Flashback button.
- Traditional Method: Often requires navigating BIOS menus or software interfaces, which may be confusing for beginners.
Hardware Requirements
- USB BIOS Flashback: No CPU or RAM is needed, which is beneficial if the system doesn’t POST (Power On Self-Test).
- Traditional Method: Requires a functional CPU and RAM, meaning the system must already be operational.
Safety
- USB BIOS Flashback: Safer from power interruptions or system crashes as it runs independently of the operating system.
- Traditional Method: More susceptible to failures due to power outages or software issues during the update process.