Replacing a modem may seem daunting, but with the right guidance, it’s a manageable task.
Start by accessing the router admin page using your PC’s browser and entering the IP address provided in your modem’s instruction manual.
This is crucial for configuring your new modem correctly.
Next, ensure all necessary cables are properly connected.
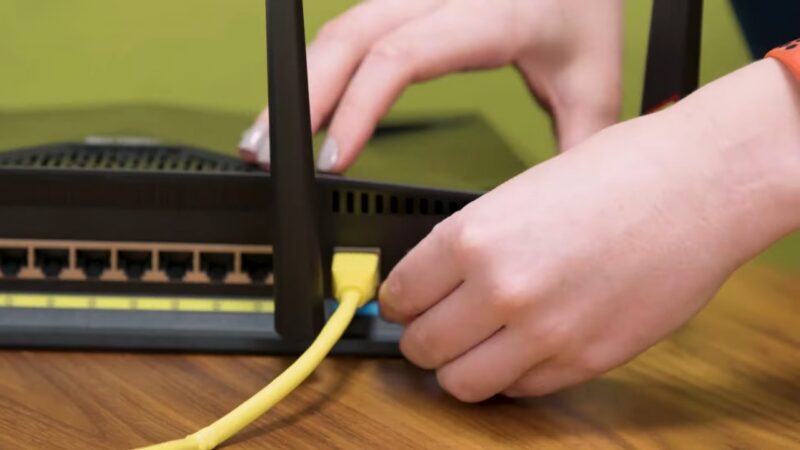
For example, plug one end of the Ethernet cable into the modem and the other end into the router’s “INTERNET” or “WAN” port.
Don’t forget to give the modem and router a few minutes to boot up.
By following these steps, you’ll have your new modem up and running in no time. These straightforward guidelines make a seemingly complex process simple and hassle-free.
Basics
Replacing a modem can seem daunting, but understanding the basics simplifies the process. First, ensure compatibility between the new modem and your Internet Service Provider (ISP). Many ISPs like Spectrum have specific requirements for modems.
- Research Compatibility: Check the ISP’s website for approved modem models.
- Purchase a Compatible Modem: Choose a modem that meets speed and feature requirements.
Before replacing the modem, gather essential information and tools. You will need the new modem, its power adapter, an Ethernet cable, and any associated software or user manuals.
- Essential Tools: Modem, power adapter, Ethernet cable, user manual.
- ISP Credentials: Username and password, often found on the modem label.
Disconnect the old modem safely. Unplug all the cables, including the power cord and Ethernet cable.
Steps to Disconnect the Old Modem
- Turn off and unplug the modem.
- Remove all connected cables.
- Set the old modem aside.
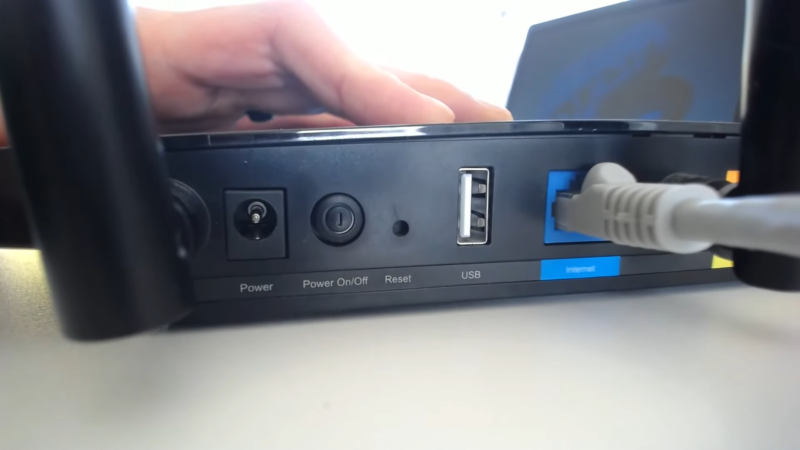
Connect the new modem to the power source and turn it on. Then, connect the Ethernet cable from the modem to the computer or router.
Steps to Connect the New Modem
- Plug in the power adapter and turn on the modem.
- Connect the Ethernet cable to the device.
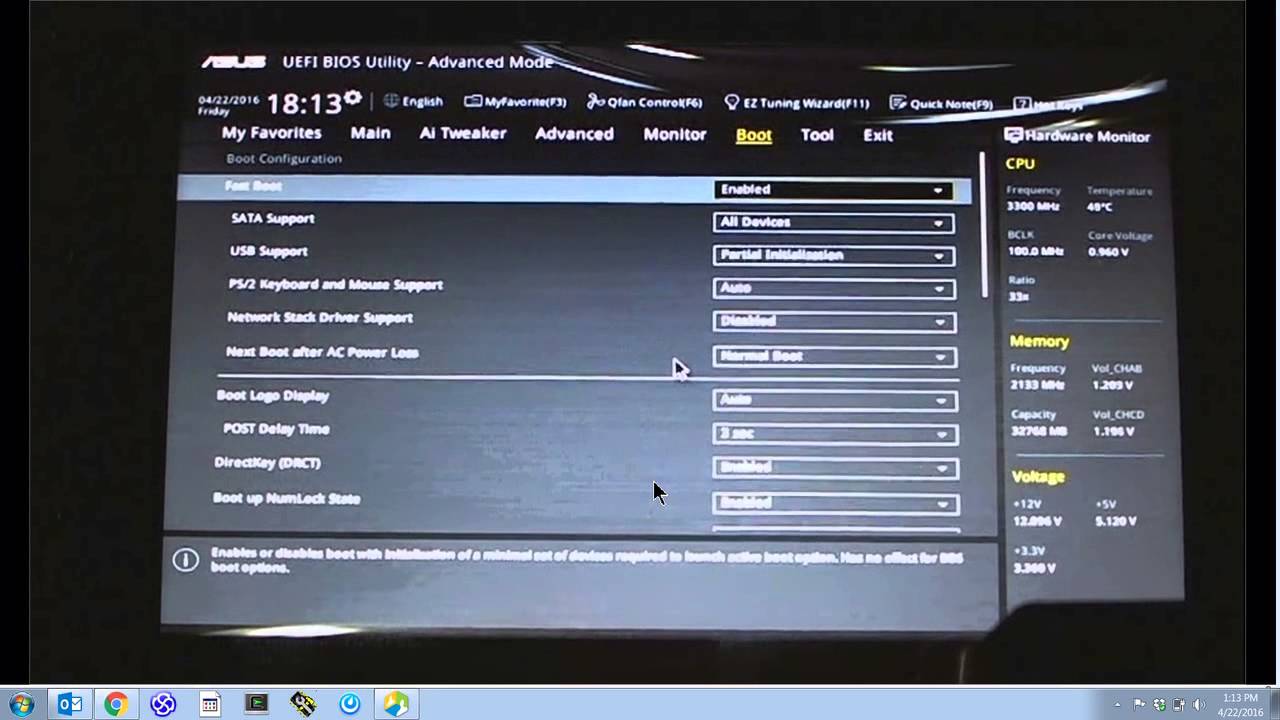
Access the modem’s admin page by entering the IP address (commonly 192.168.1.1) into a web browser. Use the credentials from the modem’s label to log in and follow the setup prompts.
- Admin Page Access: Enter the IP address in the browser.
- Login Credentials: Found on the modem label.
Identifying Your Modem and Compatibility
Identifying your modem is the first step in replacing it. Check for the model number, usually found on the back or bottom of the device. It’s typically labeled as “Model” or “M/N.”
Next, consider your Internet Service Provider (ISP). Most providers have a list of compatible modems. Refer to this list to ensure your new modem works with your ISP.
Things to Look For
- DOCSIS Standard: This determines the data exchange speed. DOCSIS 3.0 and DOCSIS 3.1 are common. Ensure your modem matches your ISP’s requirements.
- ISP Compatibility: Check the ISP’s website for a list of approved modems.
- Speed Requirements: Match the modem’s speed capabilities with your internet plan.
Example Compatibility Table
ISP
DOCSIS Standard
Max Speed Supported
Spectrum
DOCSIS 3.1
1 Gbps
Comcast
DOCSIS 3.0
600 Mbps
AT&T
DOCSIS 3.1
1 Gbps
For those using Spectrum, check Spectrum Router Compatibility before making a purchase.
A good practice is to write down your current modem’s specifications and compare them with potential new models. This will help in making an informed decision.
Gathering Necessary Tools
Begin by collecting the essential tools and materials required to replace the modem.
- New Modem: Make sure to have your new modem ready. If you need to purchase one, ensure it is compatible with your Internet Service Provider (ISP) and suitable for your internet speed.
- Cables: You will need a coaxial cable, Ethernet cables, and a power adapter. These usually come with the new modem, but having spares might be helpful.
- Screwdriver: A small, standard screwdriver might be necessary for connecting or adjusting cables.
- Computer or Mobile Device: Use these to access the modem’s settings during the installation process.
By preparing these tools in advance, you can make the replacement process smoother and more efficient.
Safety Precautions
Safety is a crucial aspect when handling electronic devices. To avoid any issues, follow these guidelines:
- Unplug Devices: Ensure all devices, including the modem and router, are unplugged from the power source to prevent electric shock.
- Dry Environment: Work in a dry area to avoid water exposure, which can be hazardous when dealing with electronic equipment.
- Clear Workspace: Keep the workspace free of clutter to avoid tripping hazards and ensure easy access to the equipment.
- Handle with Care: Be gentle when handling cables and the modem to prevent damage to the connectors and ports.
Following these safety precautions can help ensure a safe and efficient modem replacement process.
Disconnecting Your Modem
Begin by unplugging the power cord from the modem. This ensures there is no electrical current running through the device, which is crucial for safety.
Next, detach the coaxial cable that connects the modem to the wall outlet. You might need a wrench to loosen the connection if it’s too tight. Once loose, carefully unscrew it by hand.
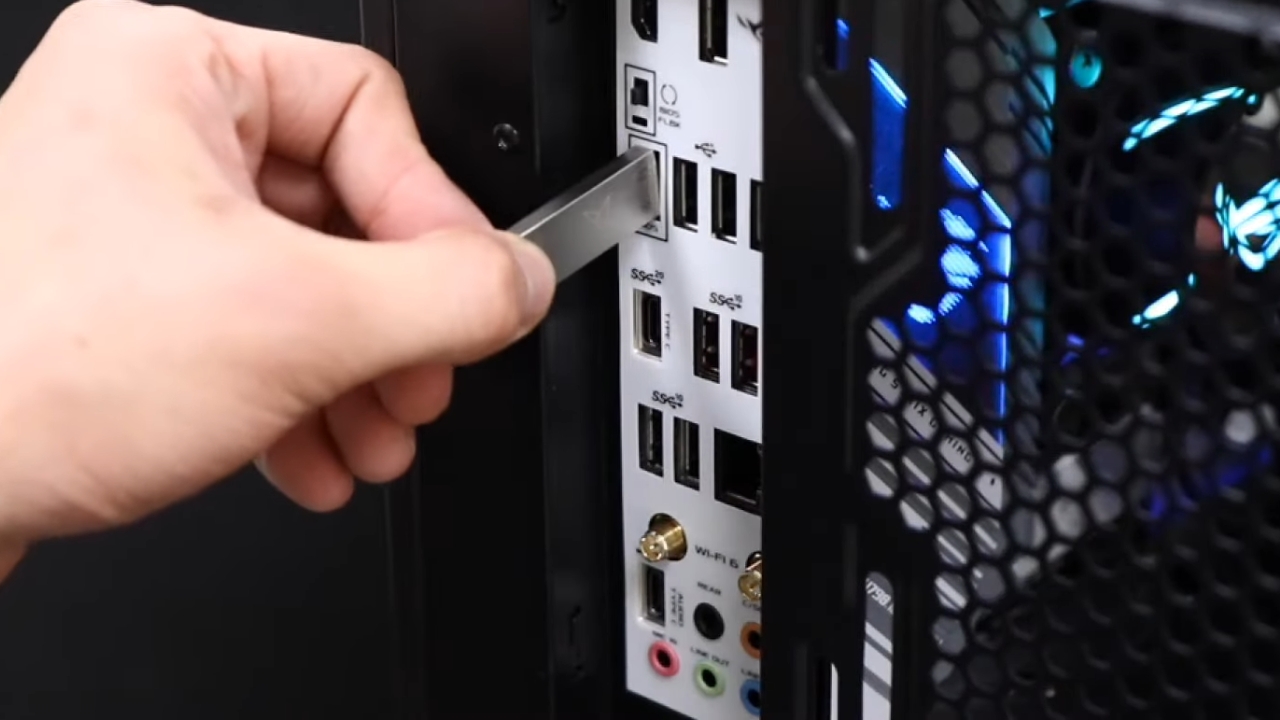
Remove the Ethernet cables. These cables connect your modem to your computer or router. Simply plug out each cable from the modem’s corresponding port.
Finally, ensure all cables are entirely detached and set the modem aside. This prevents any risk of wires still being connected when you install the new modem.
Handling Wires and Connections Carefully
Handle all wires and connections with care to avoid damaging the equipment. Bending or twisting cables can lead to internal wire breakage, causing connectivity issues later on.
Label each wire before disconnection if needed. This helps identify which cable connects to which port when setting up the new modem.
Avoid pulling hard on cables. Use gentle force, especially when dealing with tight connections. Forcing cables out can damage both the modem ports and the cables themselves.
Always keep cables organized to prevent tangling. Use cable ties or clips to bundle them neatly. This makes the new installation easier and prevents tripping hazards.
Proper wire management and careful handling ensure a smooth transition from the old modem to the new one.
Installing the New Modem

Select a suitable location for the modem, preferably a well-ventilated area to prevent overheating. Avoid placing it on the floor or in a confined space. It’s recommended to position the modem vertically if possible.
Use a rack or a shelf to elevate the modem slightly. This not only aids in better airflow but also helps in signal distribution. Once positioned, ensure the modem is stable and not prone to tipping over.
If mounting on a wall, follow the manufacturer’s guidelines to securely attach the modem. Drill holes and use appropriate screws and fasteners. Make sure the modem is firm and does not wobble, as this can disrupt connections.
Connecting Cables and Ports
Begin by connecting the modem to a power source using the provided power cable. Plug the cable into an electrical outlet and ensure it is securely connected to the modem.
Next, locate the coaxial cable. Connect one end to the wall outlet and the other to the modem. Tighten the connection to avoid the signal drop. For DSL connections, attach the phone line to the modem.
Finally, connect an Ethernet cable from the modem to your computer or router. This direct connection ensures the initial setup is smooth. Turn on the modem and wait for the indicator lights to stabilize, signaling a successful connection.
Setting Up Modem Software
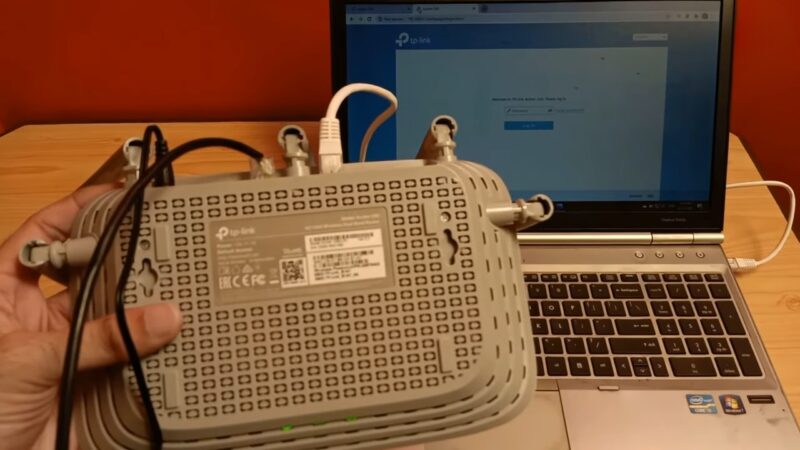
To access the modem interface, you need to connect a computer to the modem, either through an Ethernet cable or Wi-Fi. Open your preferred web browser and enter the modem’s IP address into the address bar. Common IP addresses include 192.168.1.1 or 192.168.0.1, but this information can typically be found in the modem’s instruction manual or on a label on the modem itself.
You will then be prompted to enter a username and password. This information is usually provided by the manufacturer and can also be found on the modem’s label. After entering the login credentials, press Enter to access the modem’s admin page. At this point, you are now in the modem’s interface and ready to configure various settings.
Configuring Basic Settings
Once inside the modem interface, the first step is to perform a factory reset if it’s not a new device. This clears previous configurations and credentials, enabling smooth setup with your current service.
Next, navigate to the “Setup” or “Settings” menu. Configure the basic settings such as the Wi-Fi network name (SSID), password, and security protocols. Choose a strong, unique password and WPA3 or WPA2 for enhanced security. Follow the modem’s auto-setup or manual configuration guidelines depending on your preference.
Save all changes and restart your modem to apply the new settings. Make sure to verify that all connected devices can access the internet and that the network settings are functioning correctly.
Updating Firmware if Necessary
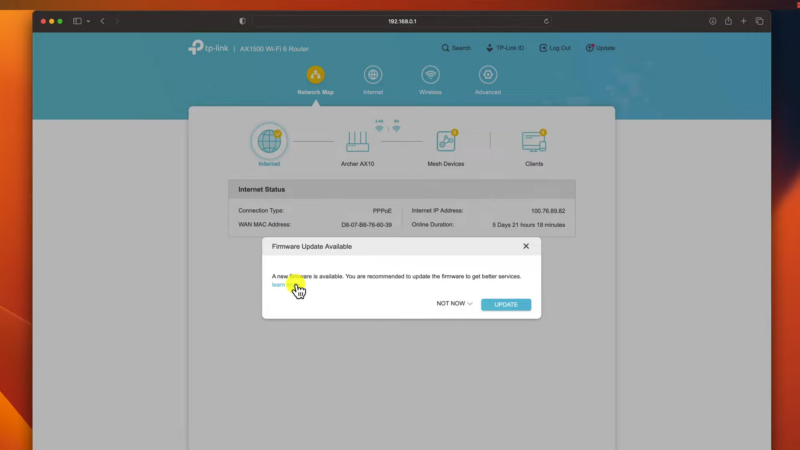
Keeping your modem’s firmware up-to-date is crucial for security and performance. To check for firmware updates, look for the “Firmware” or “Software Update” option in the modem’s admin interface.
Click on this option to see if any new updates are available. If an update is found, follow the prompts to download and install it. This process usually involves clicking an “Update” button and waiting for the modem to reboot. During this time, avoid turning off the modem or disconnecting it from power.
After the firmware update is complete, double-check the modem settings to ensure they are still configured correctly. Reboot the modem once again if necessary. Keeping the firmware current enhances your modem’s compatibility with new networking standards and security protocols, improving overall performance and reliability.
Testing Modem Functionality
Once the modem is connected, testing its functionality ensures everything works correctly.
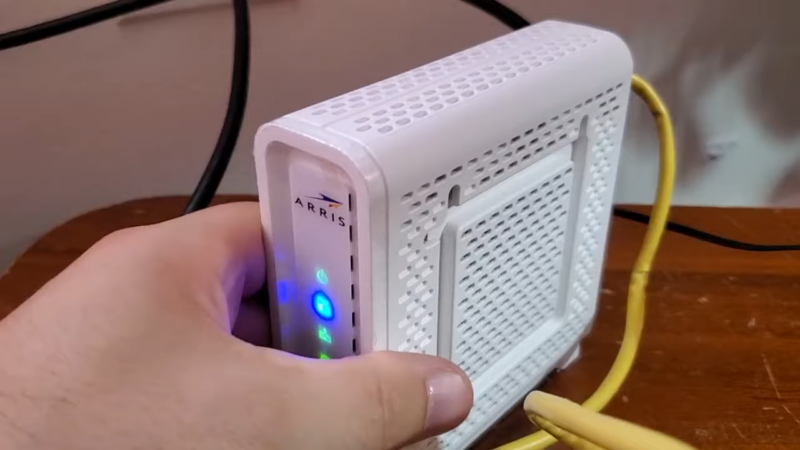
Start by checking the indicator lights. The power, internet, and Ethernet lights should be solid or blinking, signifying a healthy connection.
Next, open a web browser on a connected device. Enter a URL such as www.google.com to verify internet access. If the page loads, the modem is online.
Speed Test
- Navigate to a site like speedtest.net.
- Click “Go” to begin the test.
- Compare results with your subscribed internet plan.
Additional Tests
- Ping Test: Open the Command Prompt (Windows) or Terminal (Mac). Type
ping google.com. Consistent response times indicate a stable connection. - Wi-Fi Range: Move to different rooms and ensure a stable Wi-Fi signal. Use a Wi-Fi analyzer app for detailed results.
Factory Reset (If Issues Continue)
- Locate the reset button on your modem.
- Use a paperclip to hold the button for 10 seconds.
- Wait for the modem to reboot and test again.
Troubleshooting Tips
- Ensure all cables are connected properly.
- Restart your modem and router.
- Contact your ISP if issues persist.
Testing your modem involves simple steps that ensure network stability and performance.
Troubleshooting Common Setup Issues

Replacing a modem can sometimes lead to a few challenges. Here are common issues and how to address them effectively.
No Internet Connection
Ensure all cables are securely connected. Verify that the modem is connected to a power source. Check if the modem’s lights indicate connectivity. If necessary, restart the modem and router.
Accessing the Router Admin Page
Open a browser and enter 192.168.1.1 or the IP address specified in the manual. If you can’t access the page, clear your browser cache or try a different browser.
Incorrect Username or Password
Check the new modem’s label for the default username and password. If they don’t work, perform a factory reset on the modem by holding the reset button for about 10 seconds.
Slow Internet Speeds
Confirm that your new modem supports your internet plan’s speed. Remove any obstructions between the router and your devices. Position the modem in a central location.
Device Cannot Connect to WiFi
Move the device closer to the modem. Ensure your device’s WiFi is turned on and select the correct network. Double-check the network password for accuracy.
Modem Not Recognized by ISP
Contact your ISP to register the new modem. Provide them with the modem’s MAC address, often found on a sticker on the device.